Managing weeds and work areas
WeedManager can be used at a range of levels from simple recording of completed weed control activities through to identifying weeds, monitoring weeds, assigning control activities to volunteers or contractors, recording controls which have been carried out and the time taken and monitoring the effect or outcome from that control. The first step is to record a target weed as an area (polygon), line or circle (point).
- Adding a weed to be managed
- Using work areas
- Selecting a weed for action
- Using a Work area to select weeds for an action
- Adding a feature
- Adding a track
- Checking a control
- Recording work hours
Adding a weed to be managed
Click on the Weeds tab under your project title, then click on Add new …. A list options will appear, choose Weed. 

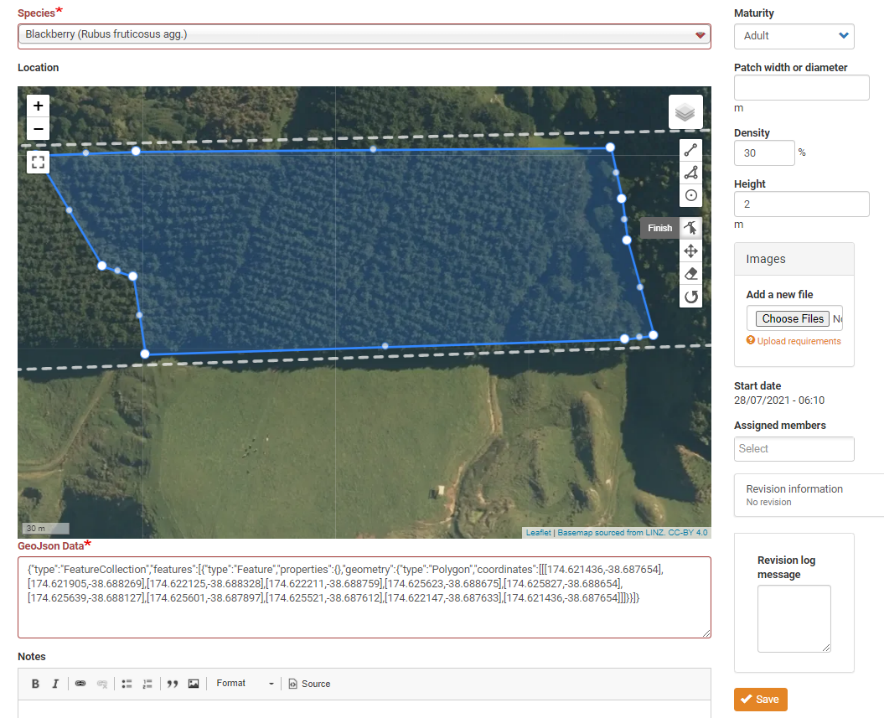
WeedManager will zoom out to show your entire project and you will see the weed entry form and map tools. Zoom in and pan to where the target weed occurs. Choose the map tool to either draw a polygon, line or circle marker to identify the location of the target weed. The example below shows data entry where 30% of the area is covered in 2m high adult blackberry. Save to finish data entry.
The screenshot below shows multiple weeds which need to be managed. An area of blackberry, a patch or agapanthus, and a line of gorse.

Using work areas
Work areas are used to group weeds, or weed patches, in an area. Work areas can then be assigned to volunteers or contractors for management. Work areas can overlap or be nested inside larger work areas.
You can add a work area before or after adding a weed. Any new weeds added within the bounds of a work area are automatically included as part of the work area.
- Under the Weeds tab in your project, click Add new…. A list options will appear in a drop down menu.
- Select Work area from the list.

- Under Create Work area give the area a Name.
- Zoom in to the area you wish to define as a work area.
- Choose the polygon map tool to draw the boundaries of your work area.
- Click Save to finish data entry.
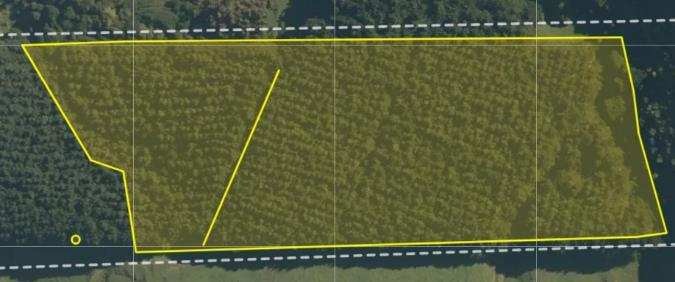
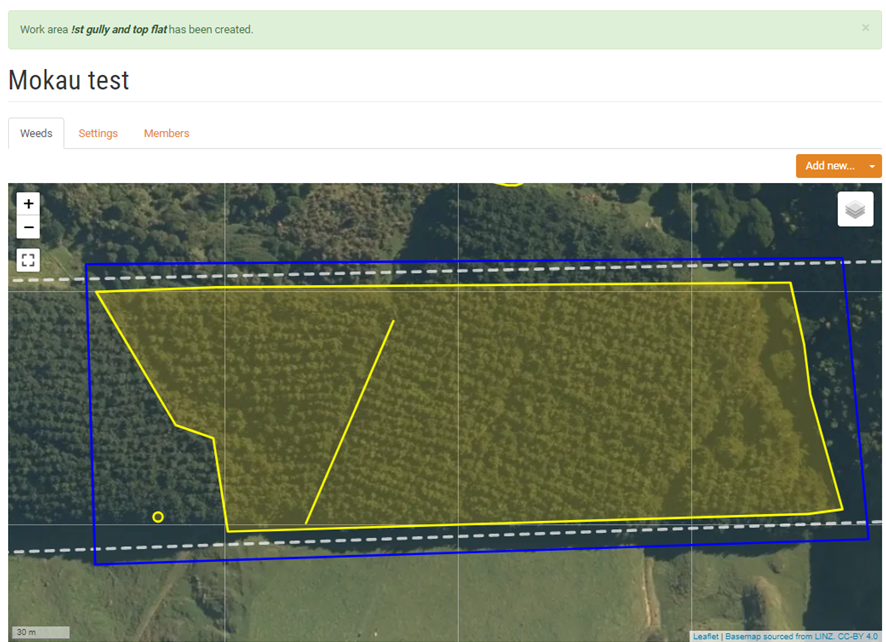
The work area will appear as a blue lined polygon. The example below shows a work area with three species of weeds.
Selecting a weed for action
Under the Weed tab you will see your map with a list of weeds in your project area with a filter tool.
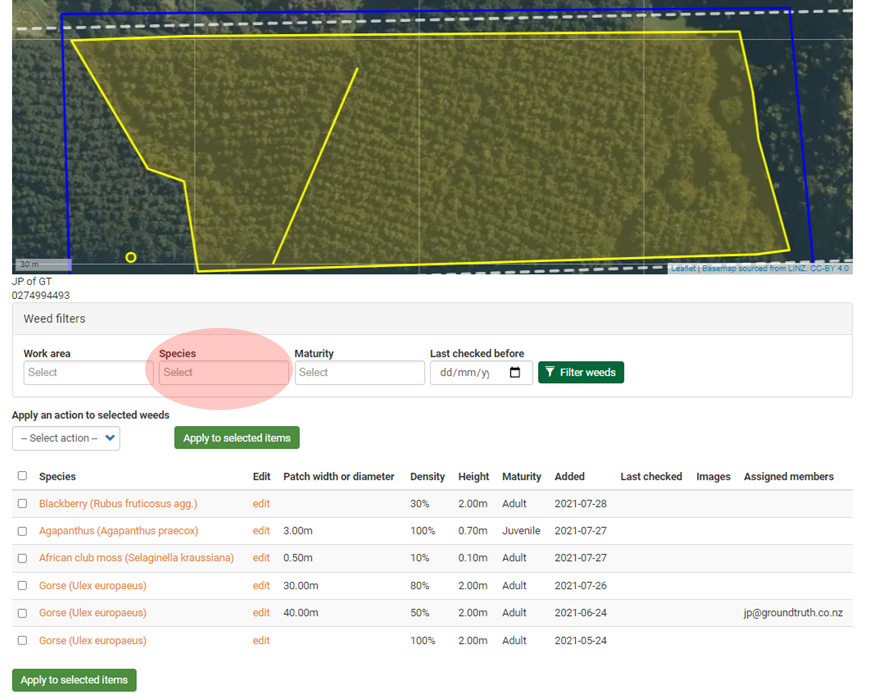
Filter by weed species
You can filter the list of weeds by species to assign or record a management action. Click in the Species box and begin typing to only display selected weed species.
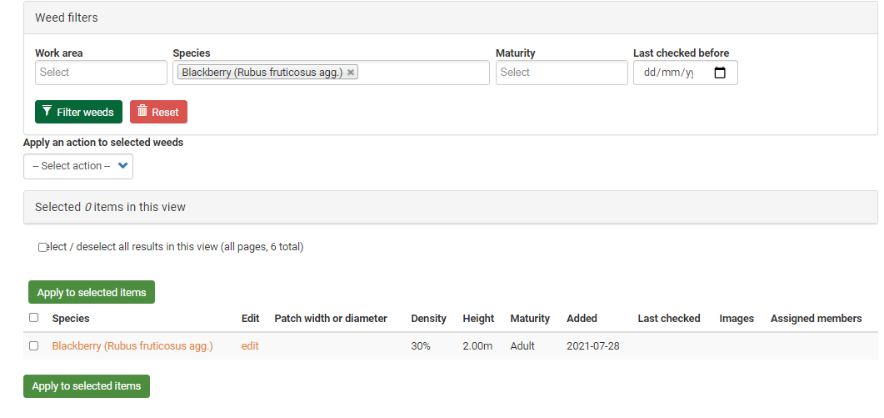
Once your weed species has appeared, click on Filter weeds. The list below will show only the chosen species. 

Apply a management action to a weed
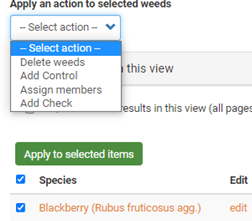
Once you have selected the weed(s) you can choose a management action:
- Delete weeds: delete a weed
- Add Control: allocate or record a control
- Assign members: assign a member to that weed
- Add Check: records a monitoring check to track the effectiveness of control
Controlling weeds
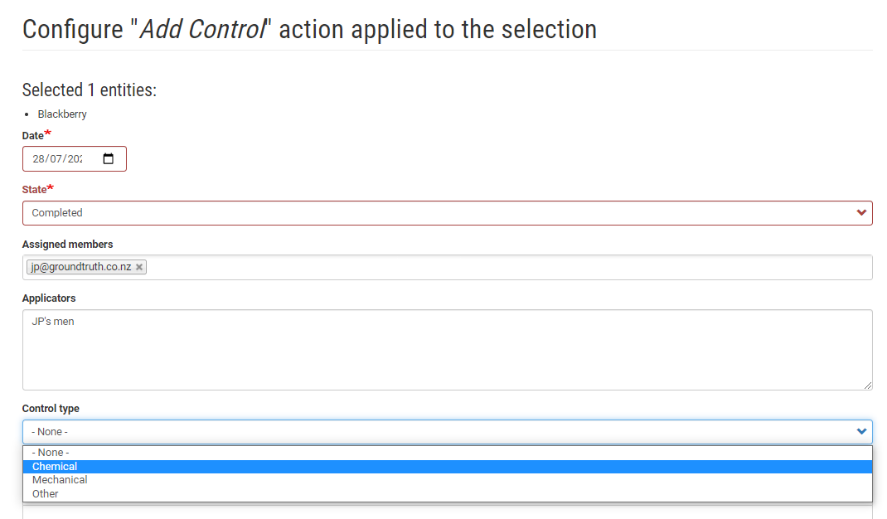
- Select Add Control from the drop down menu and click
 Apply to select items.
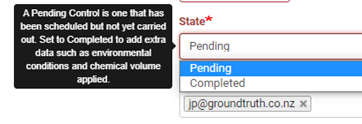
 - Check the Date, choose the State of the action (either Pending or Completed), add Assigned members.
- Select the Control type from the menu (Chemical, Mechanical, or Other) and provide the additional details required for the method chosen.
- Notes can be added to describe additional details.


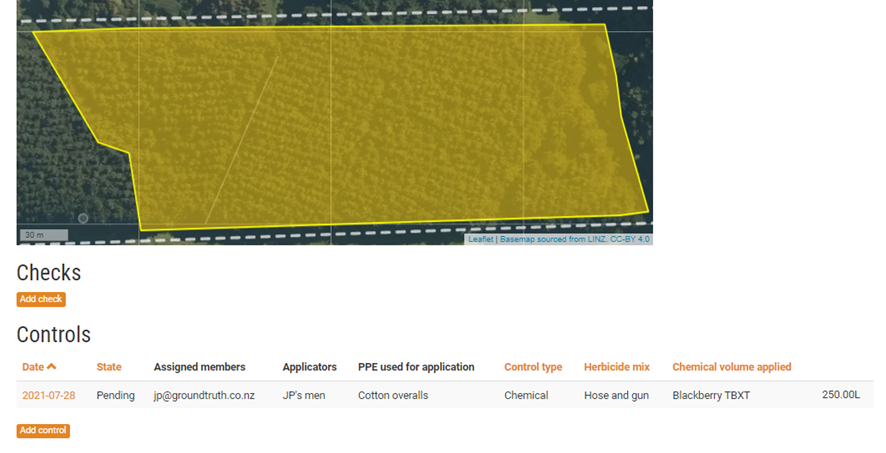
For a Completed chemical control action, this becomes a record of application or spray diary entry. Factors critical to that aside from who, where and what is how much and what were the conditions. This information can be also be added as shown on the right. The Chemical Volume Applied is the total amount of spray mix used for the action.
Once you have entered the information click on Apply  to save the record. You can see the record by clicking on the weed under the weeds tab. To go back to that tab click on My Projects then click on your project and click on the weed.


The screenshot below shows the record as Pending action. This can be updated to Completed by clicking on the date for the record.
Using a Work area to select weeds for an action
A work area can be used to group a number of weeds into an area for management by volunteers or contractors. Under the Weed tab your map, and a list of weeds will appear in your project area with a filter tool.
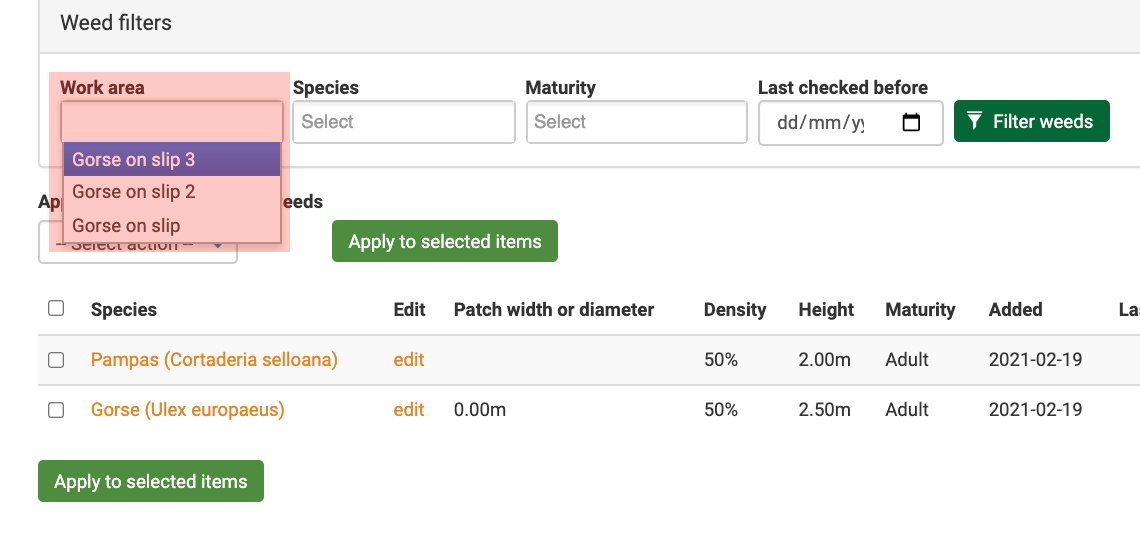
Filter by Work area
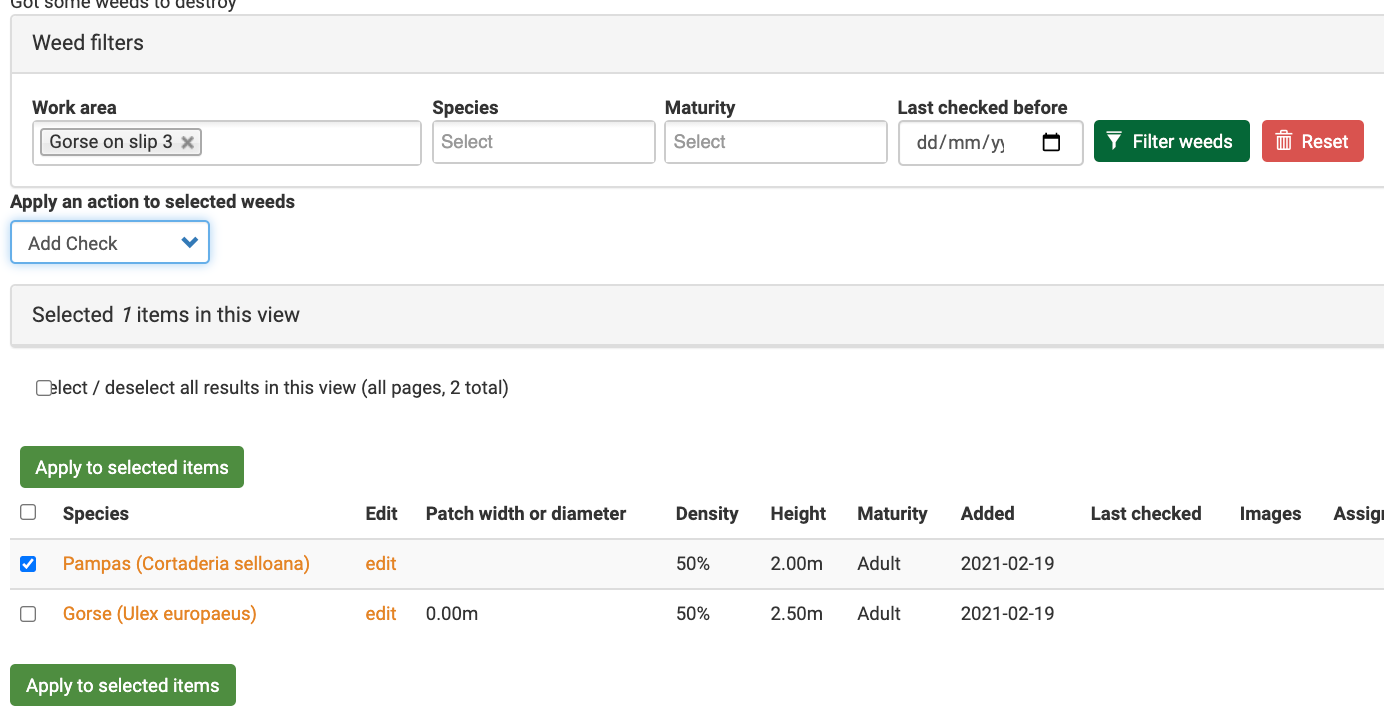
- Click in the Work area box and select a work area.
- Click the Filter weeds button.

- The list below will show only the weeds occurring in that work area.
- Select (tick) the weeds you wish to apply an action to (control, check, assign or delete)
 Assign member
A member of the project can be assigned to a specific weed, or the weeds within a work area. You can assign a member to a weed in three different ways:
Applying an action on the project home page:
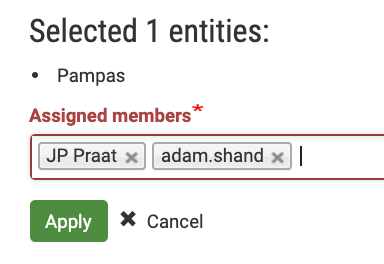
- Select the weeds you wish to assign, choose Assign members as your action and click Apply to selected items

- Choose a member(s) you wish to assign and click Apply.


Directly editing a weed:
-
Using the edit button next to a weed:


Adding a feature
WeedManager will allow you to add other features to the map as well. Features which can be added include Hazards, Important Vegetation, Signage, Sites, and Views.
To add a feature to you project map:
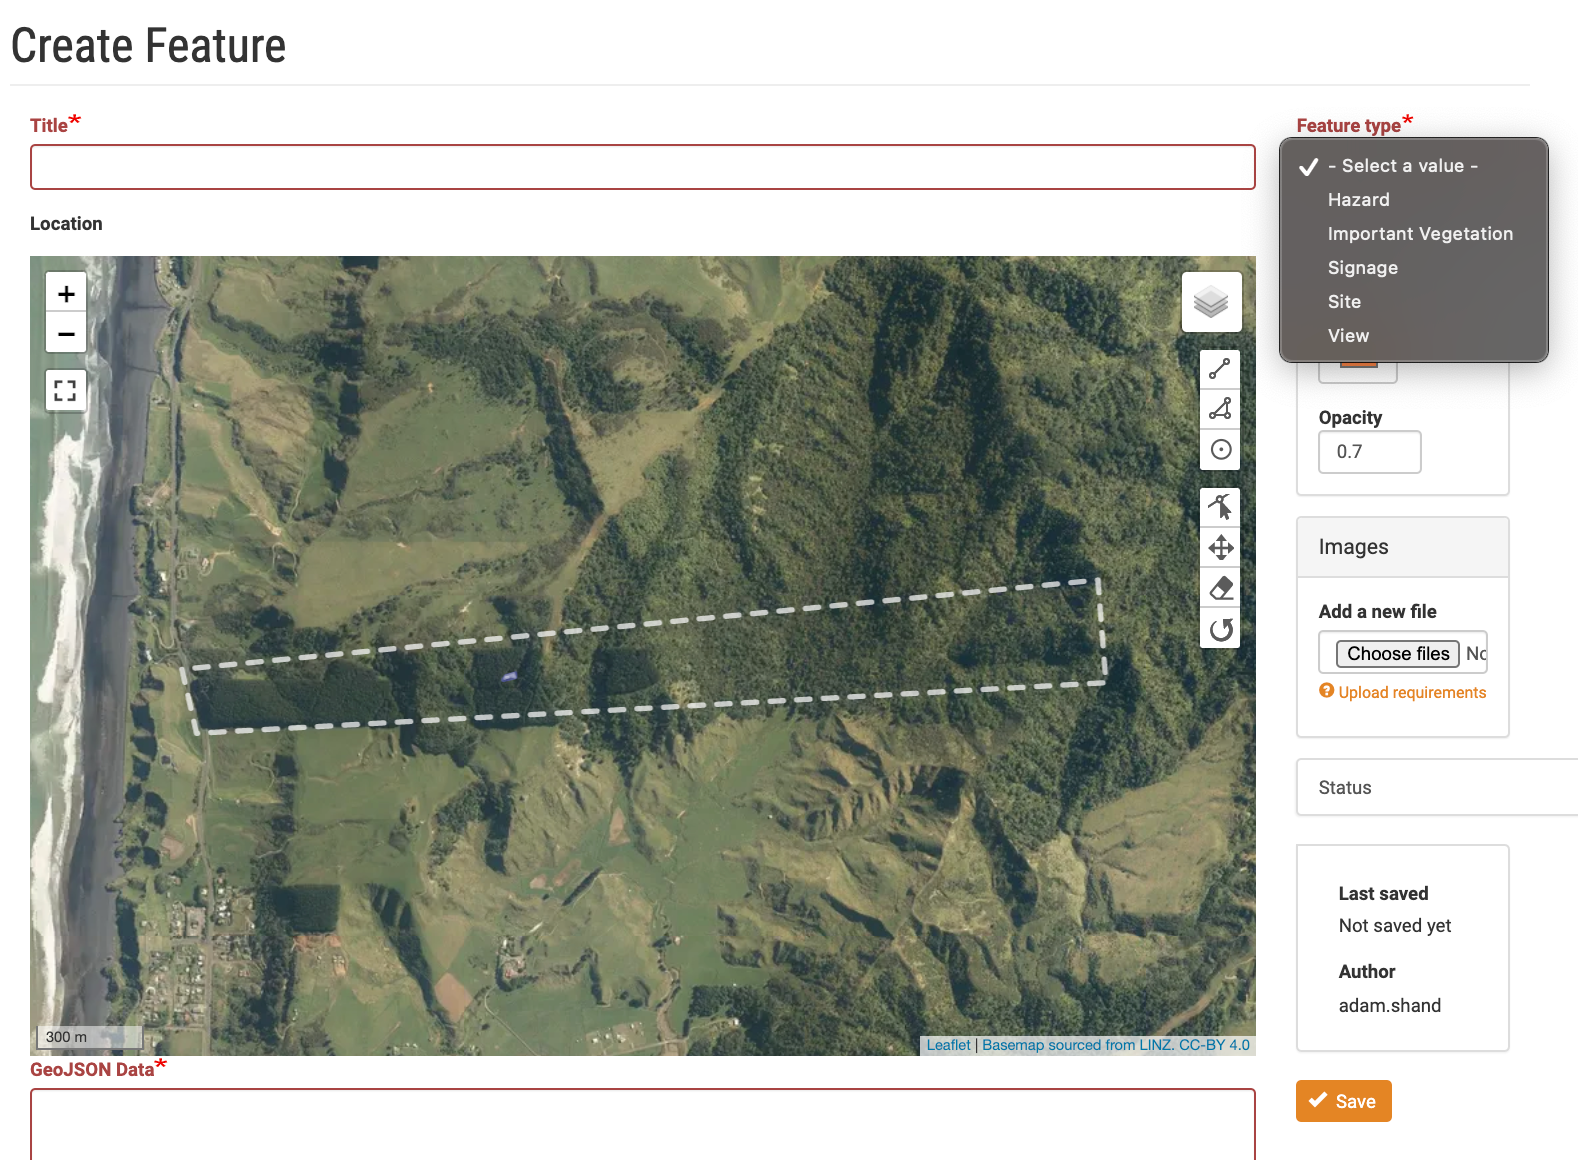
- Under the Weeds tab on your project page, click Add new… and choose Feature.
- On the Create Feature page give the feature a Title and select a Feature type.
- Use the map tools to place the feature on the map.
- Optionally upload images of the feature.
- Click on Save to finish feature entry.

Adding a track
Tracks can used to to show the physical path taken when surveying, controlling, or checking the results of controls.
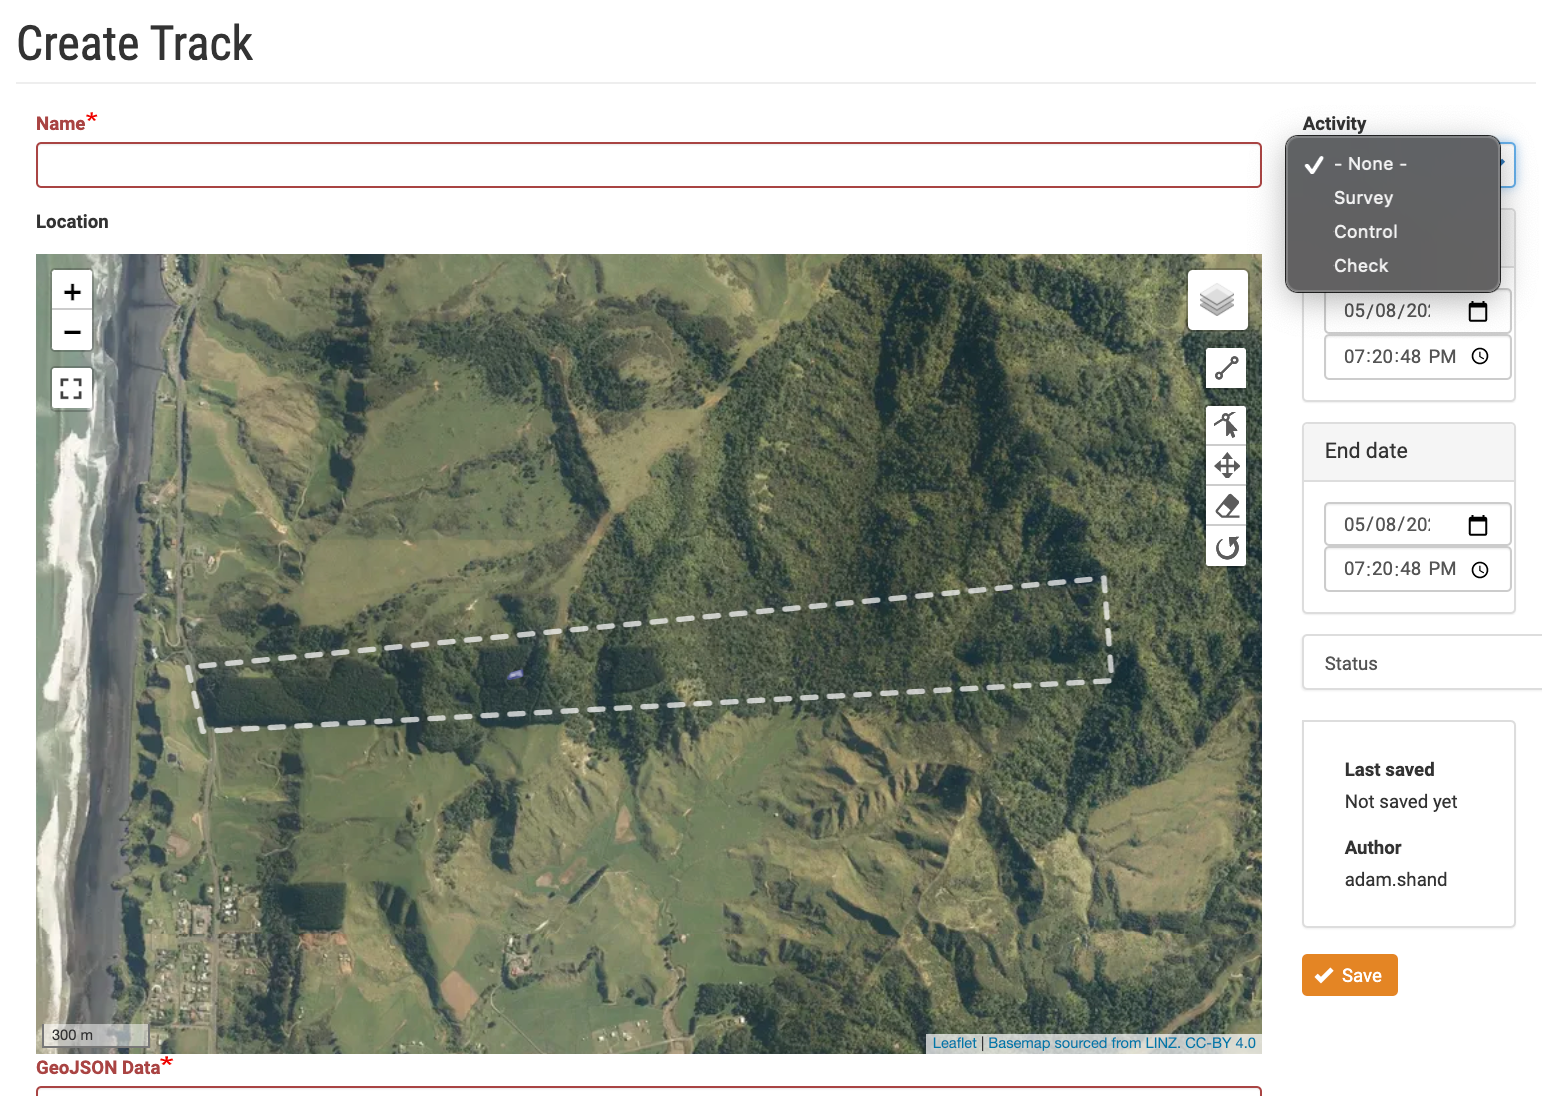
- Under the Weeds tab on your project map click on Add new…. A list options will appear, choose Track.
- On the Create Track page use the map tools to place the track on the map.
- Track types can be for Survey, Control and Checking the result of a control.
- Click on Save to add the track.
Checking a control
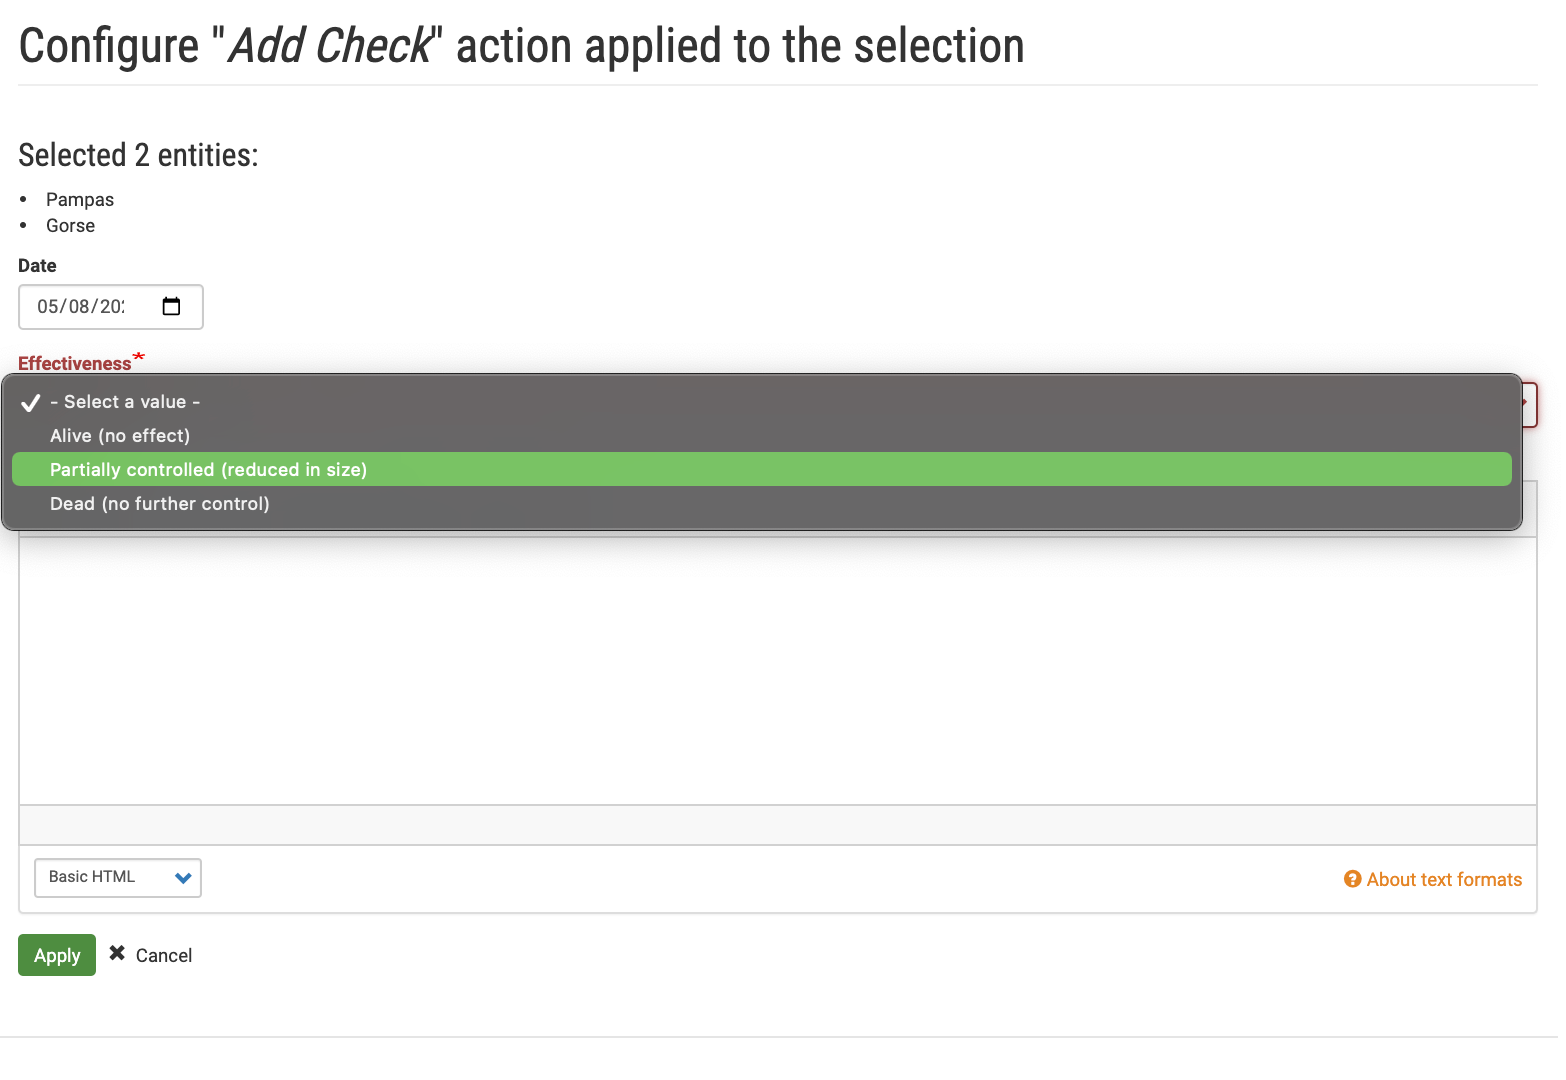
After a chemical or mechanical control has been applied checks can be recorded for effectiveness. Select a weed or weeds from the list under the Weed tab. You could use the Work area and Filter tools to refine your selection. Once a weed is selected, select the action Add Check and click on Apply to selected items.
You will now see Add Check entry form. Note the weed species is correct and select from the available descriptions in the drop down menu. Control check descriptions include:
- Alive (no effect)
- Partially controlled (reduced in size)
- Dead (no further control required)
Add any useful notes such as variability in control or apparent misses. Choose a description and click on .
The date of the last check will be shown under the Weeds tab:


Recording work hours
You can record the hours worked against a work area.
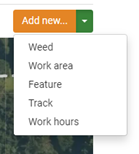
- Click on the Weeds tab under your project title, then click on Add new.
- A list options will appear, choose Work hours.
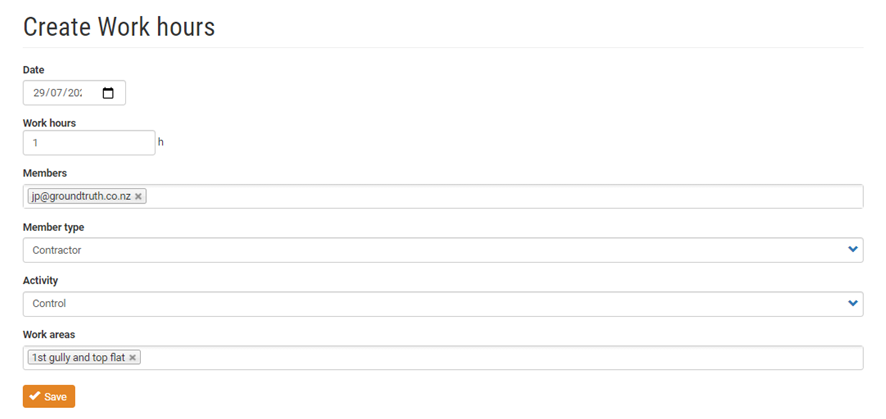
- You will then see the Create Work hours form.
- Fill in the details such as Work hours, Members, Member type, Activity and the Work areas.
- Click on Save to record work hours.