Working with projects
Projects describe the group of people who are working together to manage weeds in a geographical region.
Joining a project
- Click Find projects in the top menu (or click the green Find a project to join button at the bottom of the My projects page).
- To search for a project you can either:
- Search for a project using the Project name contains … text box beneath the map, or
- Use the map to zoom to an area of the map. All public projects will show on the map. Click on the project area and the name will popup.
- Click on the name of the project to go to the projects page.
- Click the orange Request Membership button to contact the administrator of the project.
- Optionally add a message (for example, who you are if the administrator won’t recognise your email address).
- Click the green Confirm button. An email will be sent to the administrator of the project.
- You will be notified when the request has been approved and the project will appear under the My projects menu.

Creating a new project
- Click the Add a project button near the bottom of the My projects page
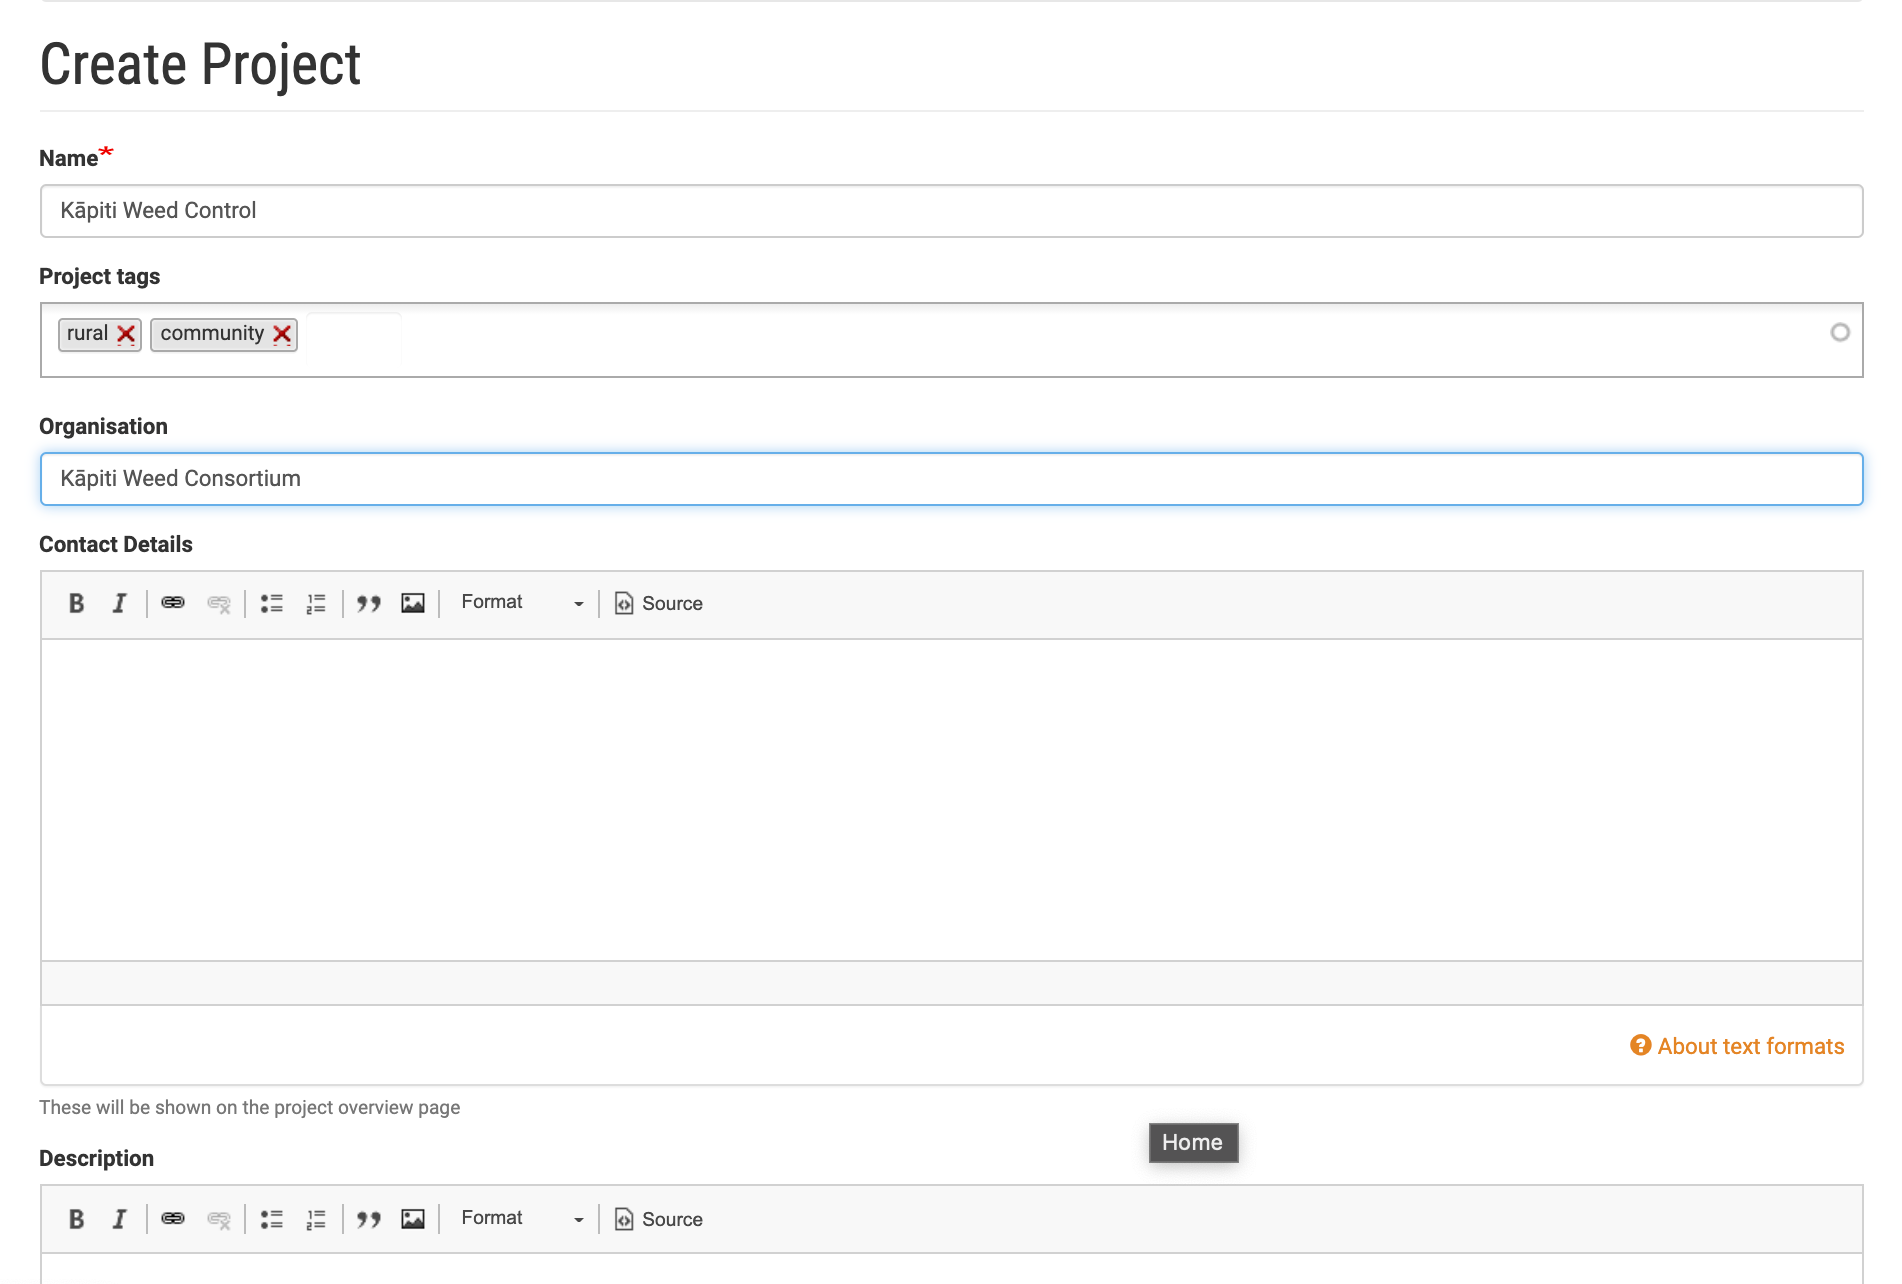
- Fill out the form with the details for your project. Fields marked with a * are required:
- Name - choose any name to identify your project.
- Project tags - if you have a number of projects these can be helpful to group your projects. For example “reserve”,”riparian”, etc. Press enter after typing each tag.
- Organisation, Contact details, and Description - providing as much information as possible will make it easier for others to find your project if you choose to list your project publicly.
- Location - this sets the boundary for your project and determines the map area that is downloaded to the app. Use the map drawing tools to outline your area (see Section 3).
- GeoJSON - this field will be autofilled if you drew an area using the map. If you have a polygon for your project area already defined from a GIS system you can paste the data in here rather than using the drawing tool.
- List this project publicly - this will list your project (including the location, contact details, and description above) in the directory so others can find your project.
- Allow membership requests - if enabled, this will allow people to request to join your project. You will be notified by email when a request is made and you will be able to approve or reject requests via the membership tab.
- Share summary data - sharing will allow anonymised data from your project to be included in statistical reports. Making summary data available contributes to the national dataset and is invaluable for research into pest plant control in NZ
- Click the Save button at the bottom of the page
Once you've created your project you can start adding weeds, work areas, features, etc, and you can invite others to join your project.
Project settings
If you have created your own project, or are an administrator of a project, you can change project settings.


- Go to My Projects and click on the name of your project.
- Click Settings in the project menu.
- The About, Location, and Sharing tabs allow you to edit the information you entered when creating the project.
- The Species and Herbicides tabs are described below.
Using the Species tab
WeedManager is preloaded with a list of weed species. You can customise this to make a shortlist for quick and easy access when adding weeds via the website or the app.
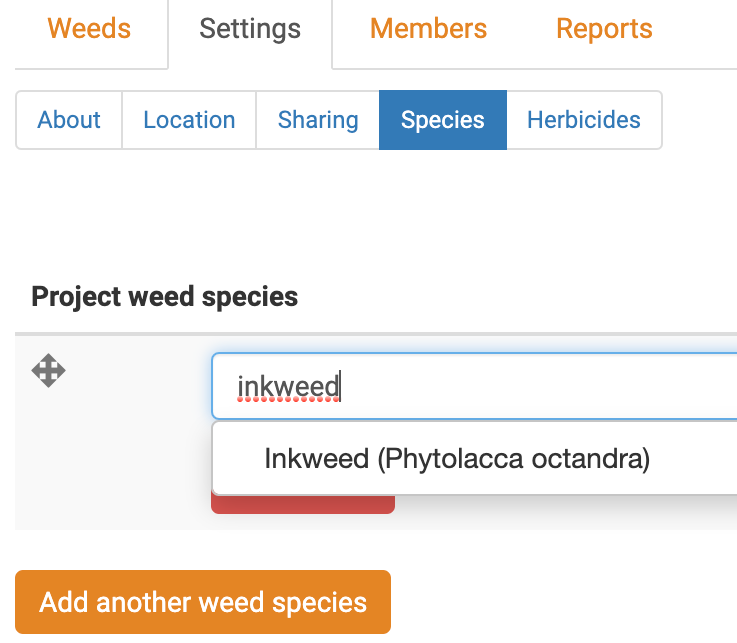
- Click the Species tab to select weed species you are managing for this project.
- Weed species not listed here can still be managed, but selected species will be shortlisted to appear at the top of the lists.
- To add a weed to the shortlist, start typing its name (either common or scientific). Matching weeds will appear in the dropdown.
- Select the weed and click Add another weed species to add additional species, or click Save to finish.
- If a weed does not match the preloaded list, double check the spelling.
Using the Herbicides tab
WeedManager is preloaded with a list of herbicides and allows you to create customised herbicide mixes.
- Click the green + Add new mix button.
- Give your mix a helpful Name (eg. “Blackberry TBXT”) and optionally a more detailed Description.
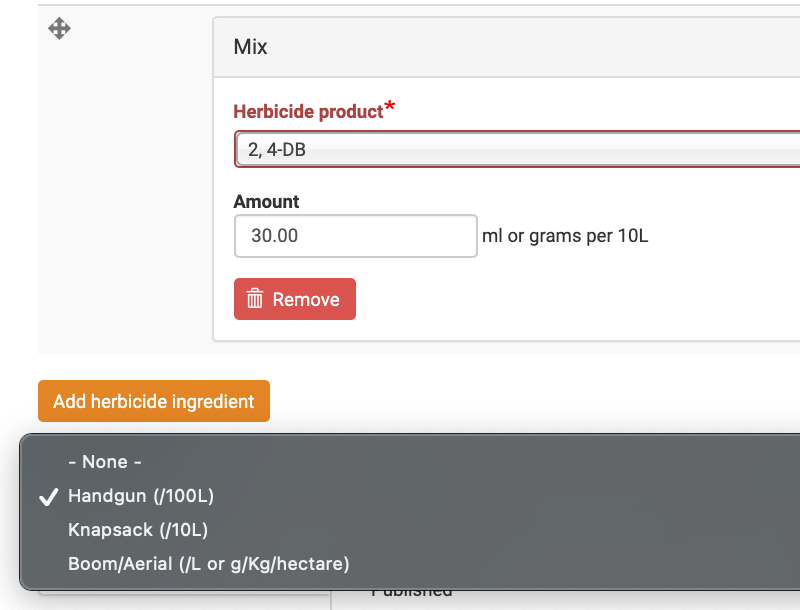
- Under Mix you can create a custom mixture.
- Select the first Herbicide product you want to include in your mixture
- Choose the Amount per 10 litres (in ml or g)
- Click Add herbicide ingredient and repeat for the remaining ingredients.
- Choose an Application Method
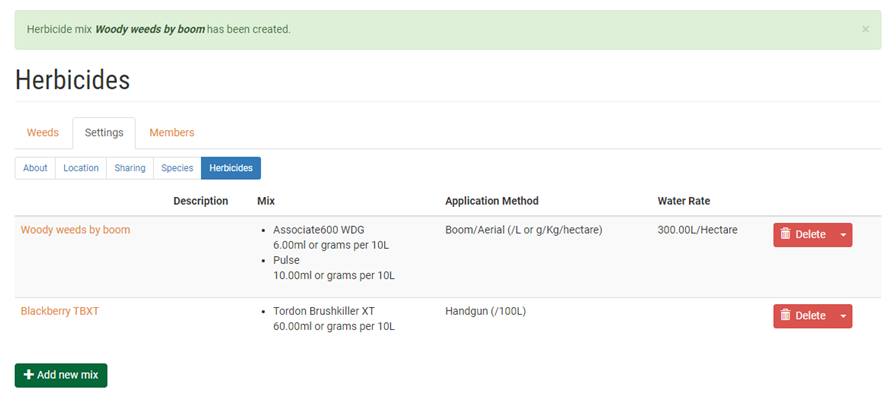
- When your new mixture is complete click Save to finish.
 As an example, you should see something like this after creating a mix or two
Adding new Species or Herbicides
If you want to add a Species or Herbicide which isn’t included, please contact us with the relevant details via either:
