Using work areas
Work areas are used to group weeds, or weed patchespatches, in an area. Work areas can then be assigned to volunteers or contractors.contractors for management. Work areas can overlap or be nested inside larger work areas.
You can add a work area before or after adding a weed. Any new weeds added within the bounds of a work area are automatically included as part of the work area.
- Under the
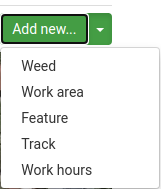
“Weeds”Weeds tabunderin yourproject title,project, clickonAddnewnew…. A list options will appear in a drop down menu. - Select Work area

- Under
Weedmanager will zoom out to the full extent of your project and you will see the “Create WorkArea”areaformgiveandthemapareatoolsa(seeName. - Zoom in
and panto the area you wish to define as a work area. - Choose the polygon map tool
toto draw the boundaries of your workarea and enter a name.area. - Click Save to finish data entry.
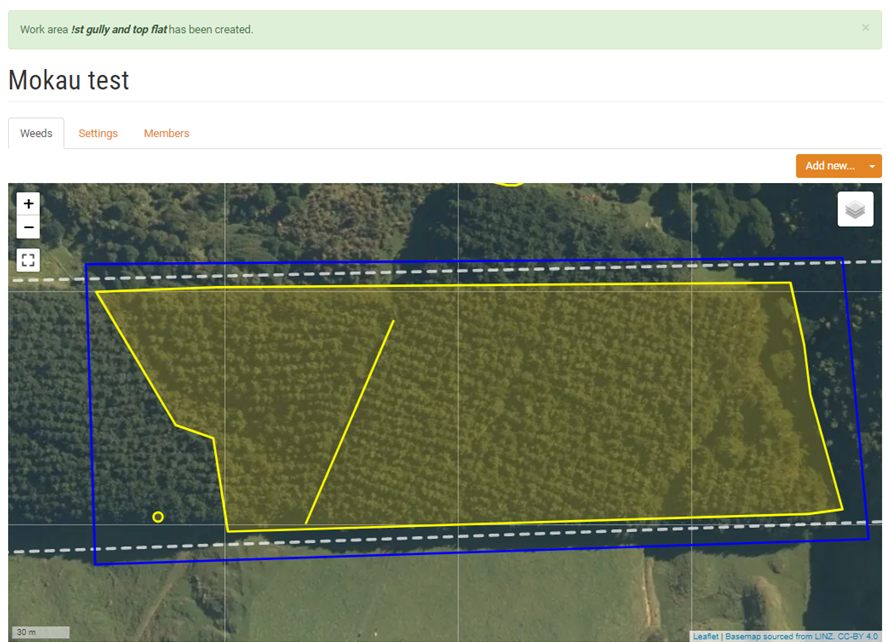
The work area will appear as a blue lined polygon. The example below shows a work area across allwith three species of weeds.


