Using the GPS to record weed locations and add a control
This function could be used to prepare a digital spray diary entry out in the field during or after a control has been applied.
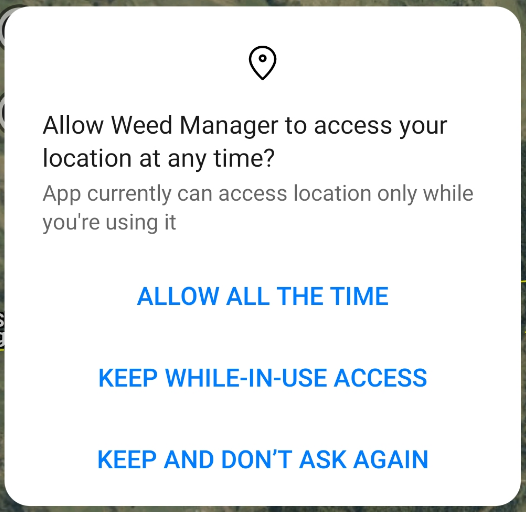
Go to your phone settings and turn “Location” or “GPS” to “on” When you first start Weedmanager you will be asked to allow access to you phone’s location. Tap on the option which suits you (normally the middle one on the right).
The mapping tools are shown to the left. Move close to where you wish to record and maybe control a weed. Clicking the ![]() icon will zoom the project map to your location. When you wish to start recording your location tap the black man on the mapping tools menu.
icon will zoom the project map to your location. When you wish to start recording your location tap the black man on the mapping tools menu. 


![]()
![]() The man will turn green and GPS tracking will be live.
The man will turn green and GPS tracking will be live. 
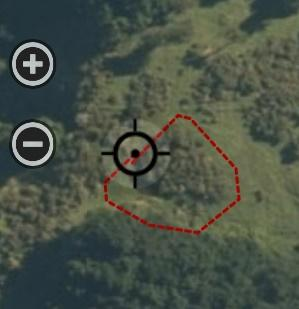
Once tracking is live you will be able see where you have been. When you want to stop recording your location, tap on the green tick. 
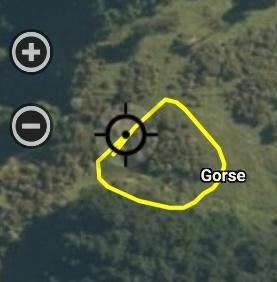
When you tap on the green tick a Weed form will appear on the App. Fill that out, Save and the track will turn yellow. Note that a weed name now appears on the screen as shown on the right. 
Tap on the  button (bottom left). The red
  and green
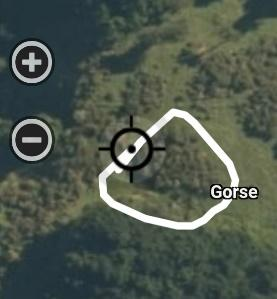
  will appear. Select the yellow track by tapping on it. The track will turn white. Tap on the and the Control or Check form will appear for you to fill out. Fill in the control or check details, tap and hold the SAVE button until it turns green. Note that once you been through the process once the App will autofill the next control form.