Creating a new project
- Click the Add a project button near the bottom of the My projects page
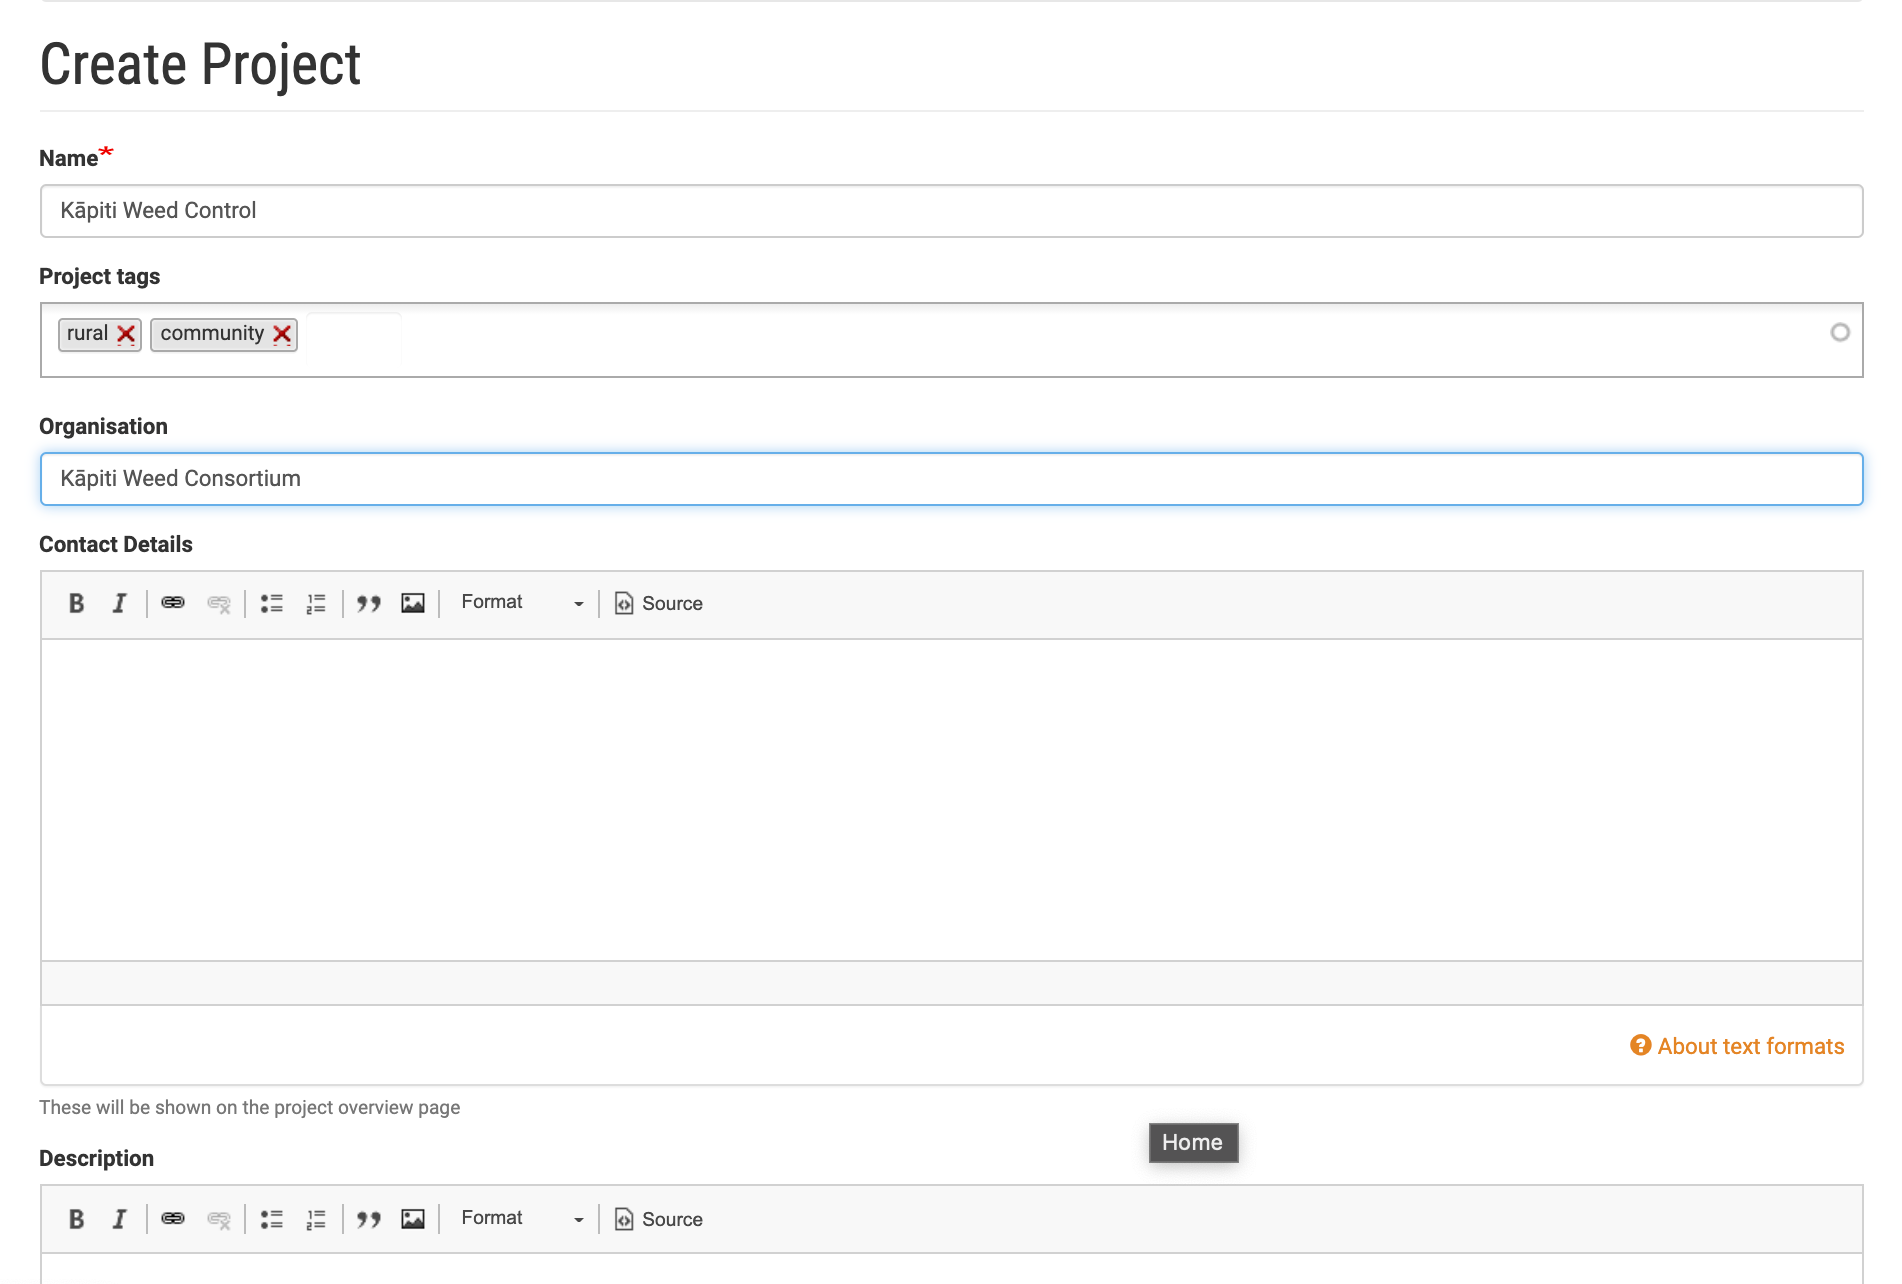
- Fill out the form with the details for your project. Fields marked with a * are required:
- Name - choose any name to identify your project.
- Project tags - if you have a number of projects these can be helpful to group your projects. For example “reserve”,”riparian”, etc. Press enter after typing each tag.
- Organisation, Contact details, and Description - providing as much information as possible will make it easier for others to find your project if you choose to list your project publicly.
- Location - this sets the boundary for your project and determines the map area that is downloaded to the app. Use the map drawing tools to outline your area (see Section 3).
- GeoJSON - this field will be autofilled if you drew an area using the map. If you have a polygon for your project area already defined from a GIS system you can paste the data in here rather than using the drawing tool.
- List this project publicly - this will list your project (including the location, contact details, and description above) in the directory so others can find your project.
- Allow membership requests - if enabled, this will allow people to request to join your project. You will be notified by email when a request is made and you will be able to approve or reject requests via the membership tab.
- Share summary data - sharing will allow anonymised data from your project to be included in statistical reports. Making summary data available contributes to the national dataset and is invaluable for research into pest plant control in NZ
- Click the Save button at the bottom of the page
Once you've created your project you can start adding weeds, work areas, features, etc, and you can invite others to join your project.